Help - Activity Centers
Thank you for visiting the Twishr Help Site. We are building this page with onboarding and usage information for Activity Centers that will help you figure out answers to most common questions about Twishr Admin Panel. Meanwhile, please feel free to contact support below .
Onboarding
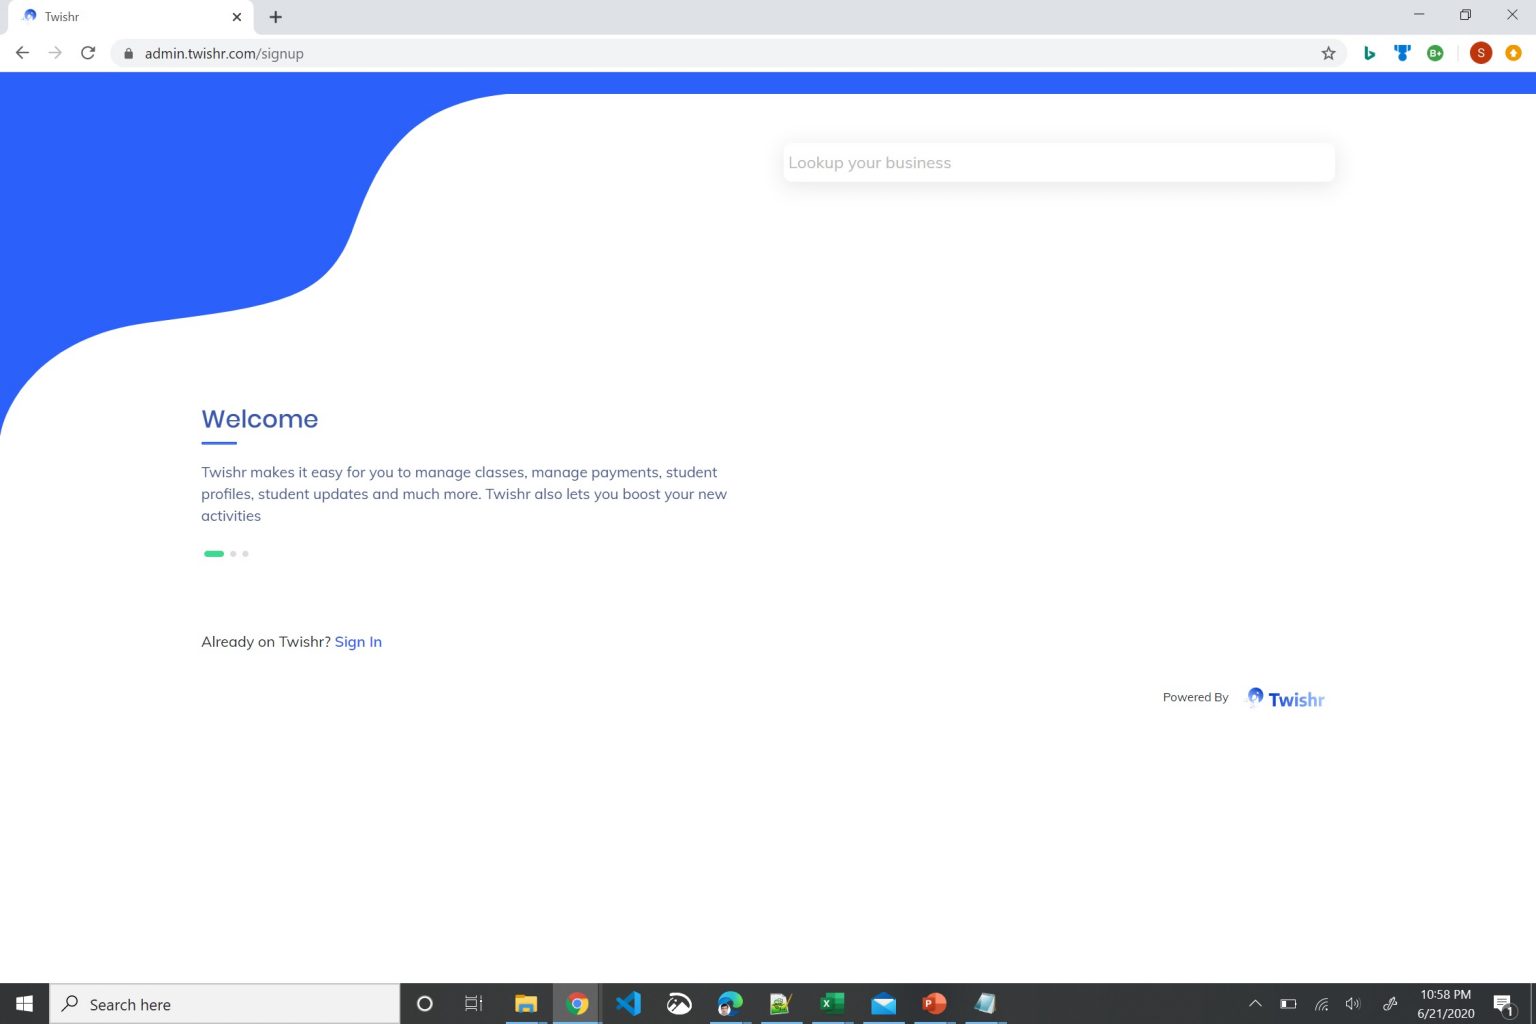
When you land on the Admin Panel page (https://admin.twishr.com), you can sign up with the link New to Twishr.
Lookup your business by name.
The next screen asks for your business name as it appears in your business licence. We will need your business email address.

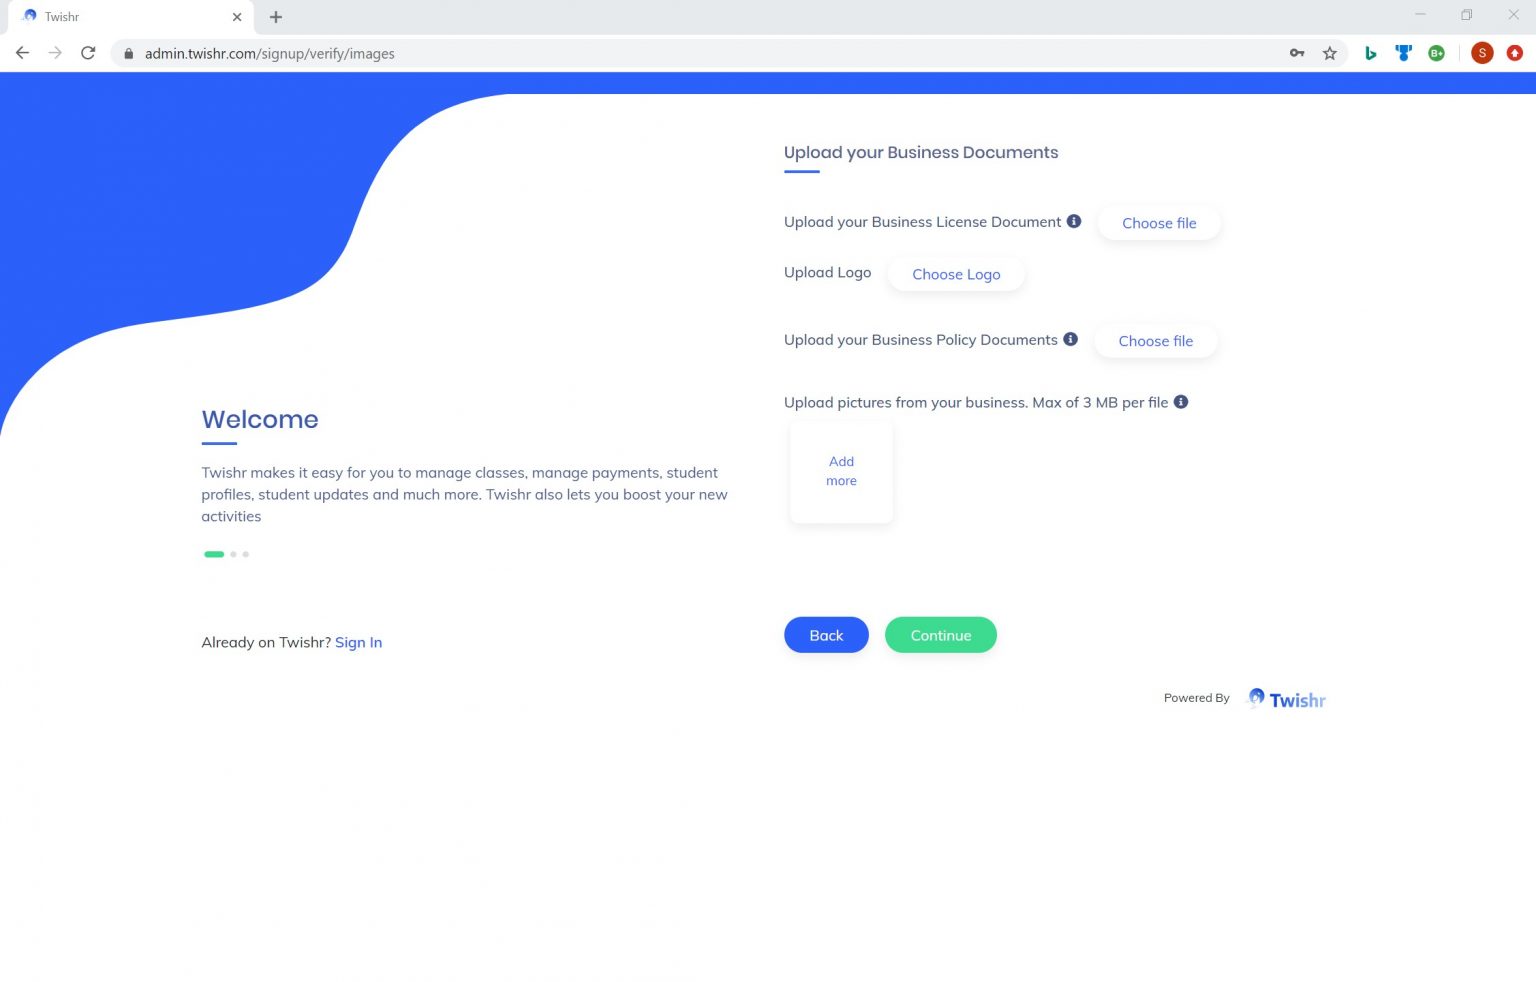
Please upload a picture or digital copy of your business license. If you do not have it handy, you can include this later. We will review this document manually. Upload your logo, a PDF or Word version of your rules and regulations. Examples would be your cancellation policies, policies regarding make up classes or dress code and equipment if any. If you do not have it, you can add them later when you create Activities.
Upload upto 5 pictures from your business.
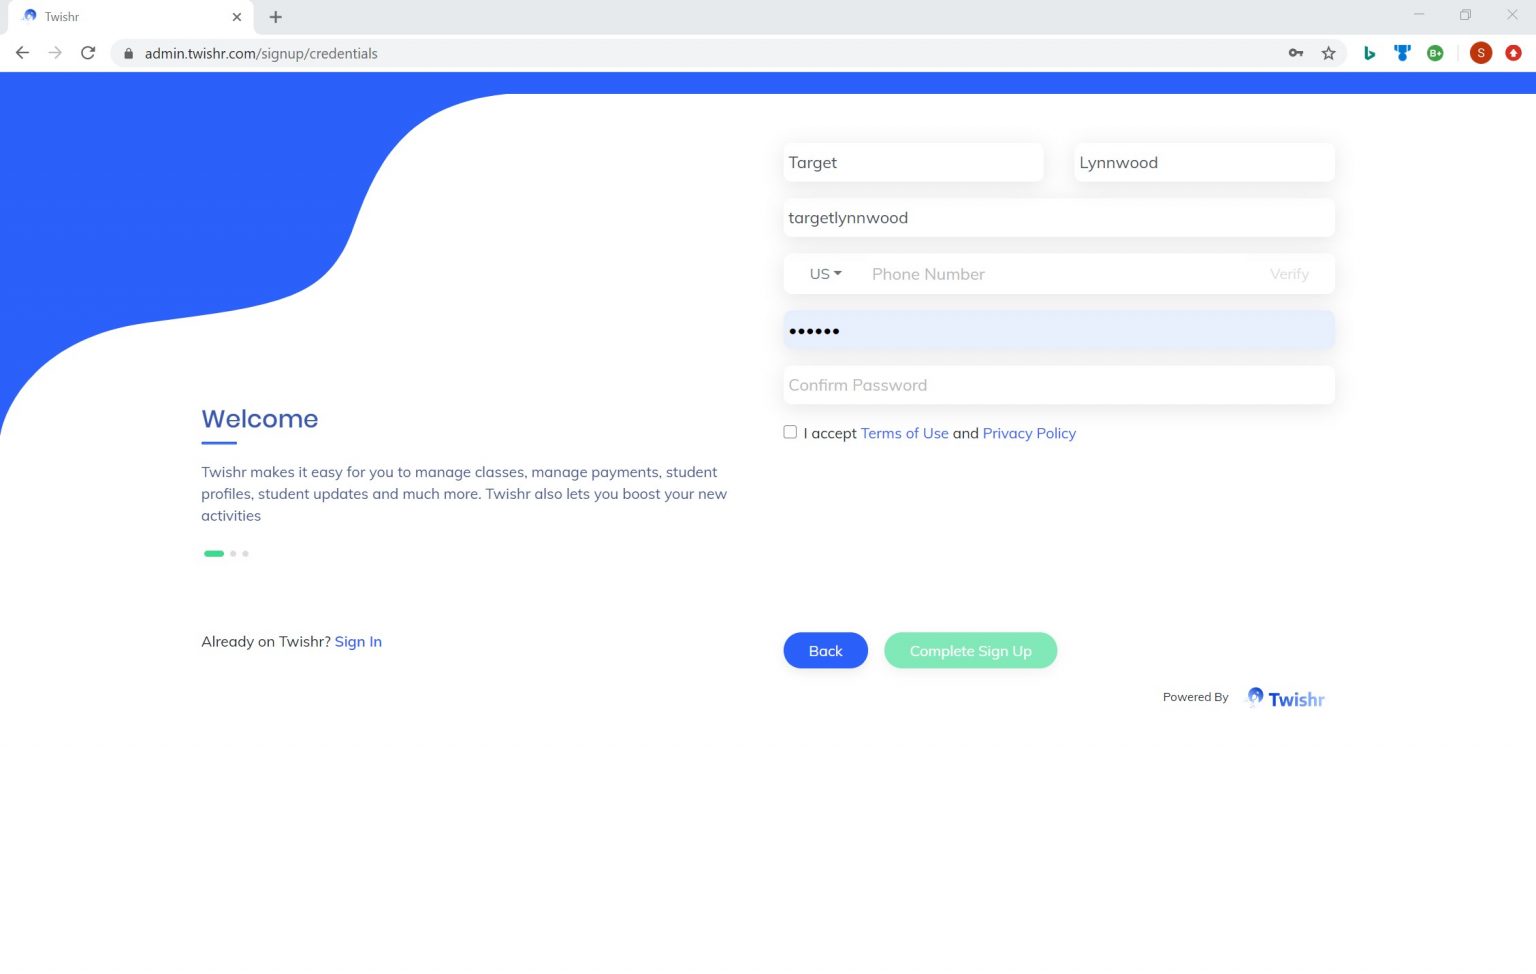
Enter your first and last name, and enter a username. Enter your phone number where you can receive text messages.
Enter your phone number and click Verify. The system will send a One Time Password (OTP) to your phone number to verify you have access to this phone. This is a mandatory step, you will not be able to complete sign up until you verify your phone number.
Next you will enter your password, accept the Terms of Use and Privacy Policy, and complete your sign up.
Activities
Next up you will create Activities. An Activity is what your customers will reserve and pay for. Once you fill them out and publish, it will get published to the Family App, and what you will see on your Activity Calendar.
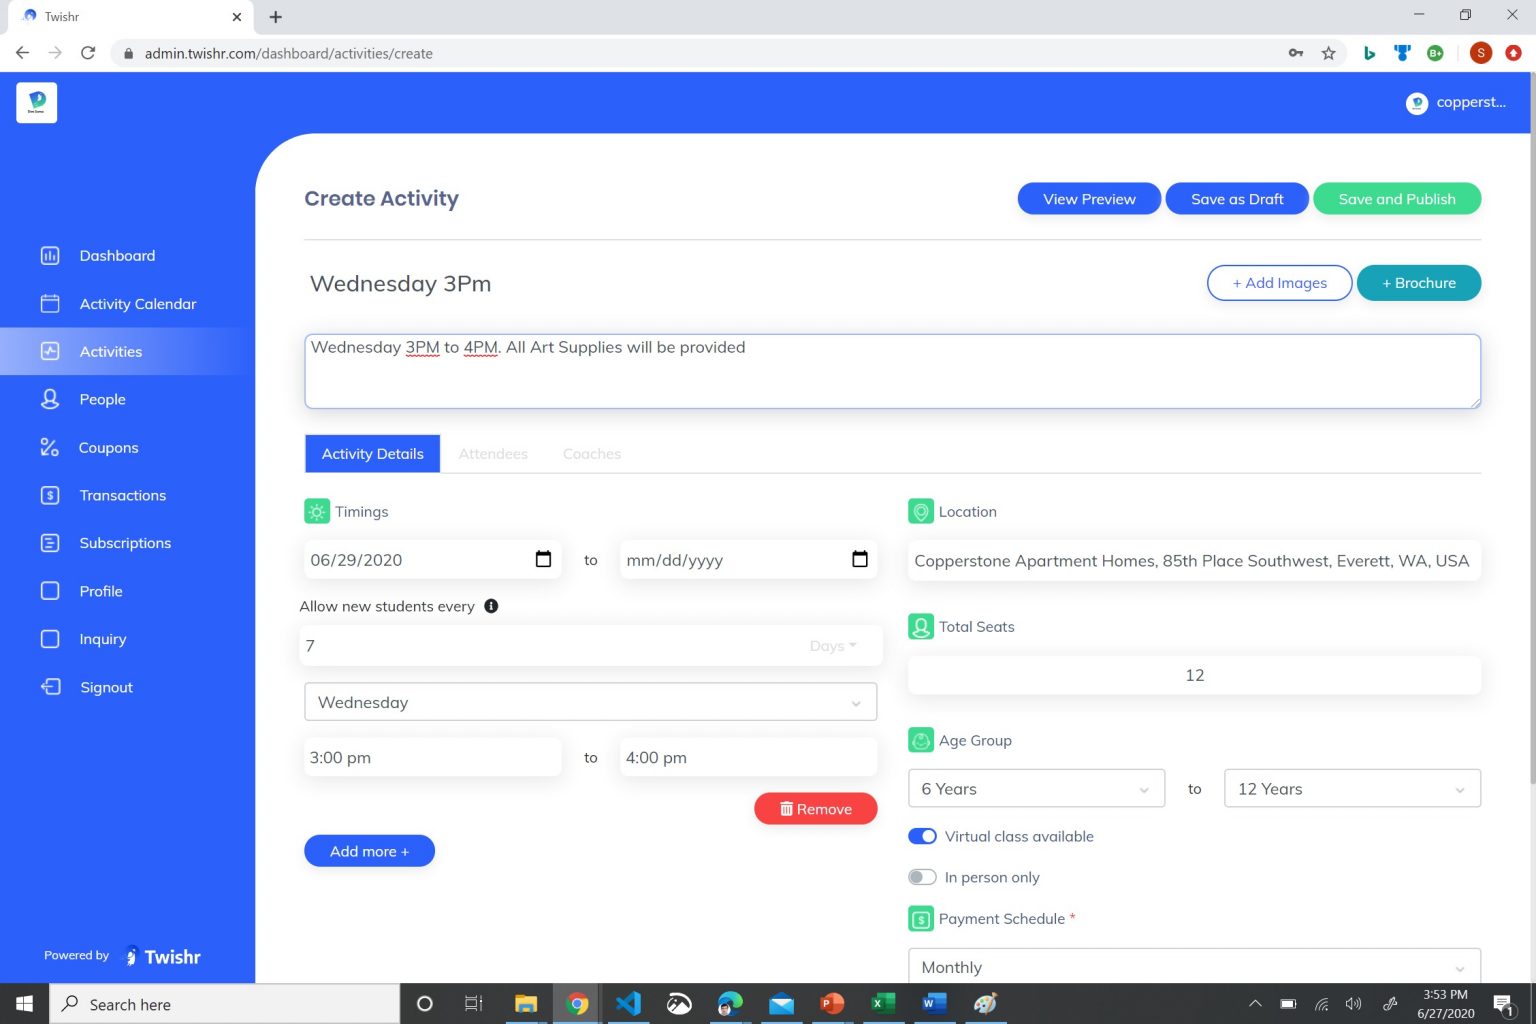
Go to the Activities tab on the left, and click on Create Activity from the right top corner.
Enter the title of the Activity, a short description and pictures. Upload brochure if you have one handy. Your customers will get a chance to see and download this brochure.
We will focus on the left panel for now.
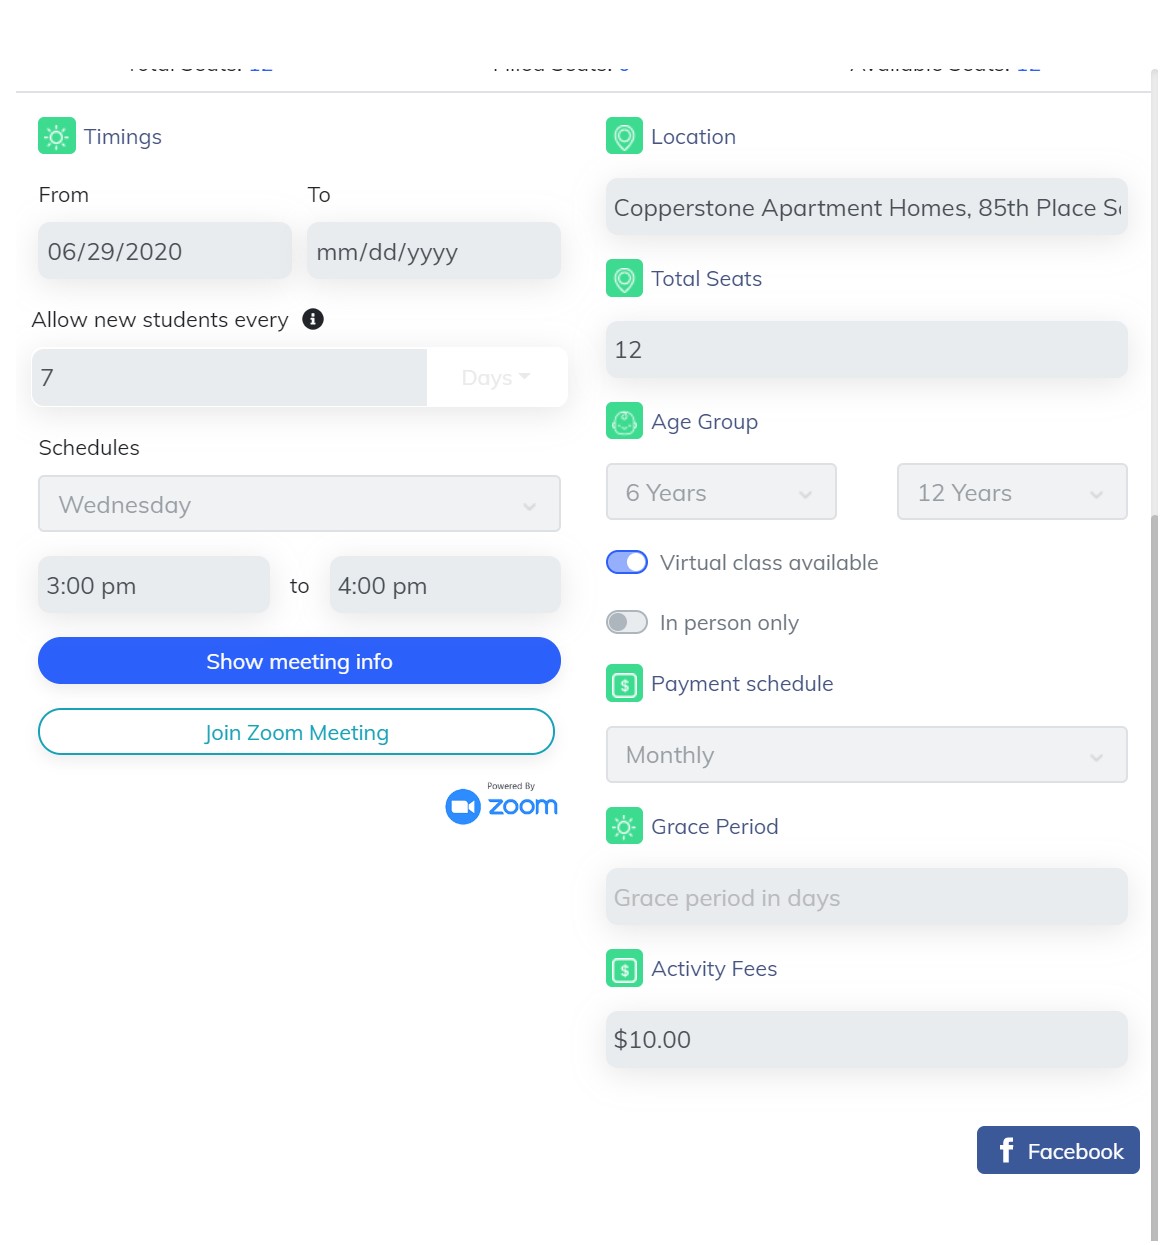
Under Timings, enter the start and end dates of your activity. If its a long recurring activity, enter a start date but leave the end date blank.
Also on the left panel, you will enter the day of week and the start and end time for that day.
If your class goes twice a week, Wednesdays and Fridays for example, you can add another day of the week to the schedule.
When your customers select this Activity – they will be able to see both days.
On the right side, you will need enter the number of slots. Remember to enter the class fees.
If you have a large number of Activities to support, there is also an option to do it via an Excel. If you have a large number of Activities, of find Excel overwhelming at times (oh, don’t we all have a love-hate relationship with Excel), let us know and we will get the activities onboarded. Drop us an email here.
Configuring Zoom
You will also enter whether this Activity as an Online Meeting. We use Zoom, just like millions of others to host their online meetings. In order to configure your Zoom account, you will need to click Save as Draft first before you see the button being enabled. Once you click Save as Draft, the Activity will be saved at the bottom of your Activities tab
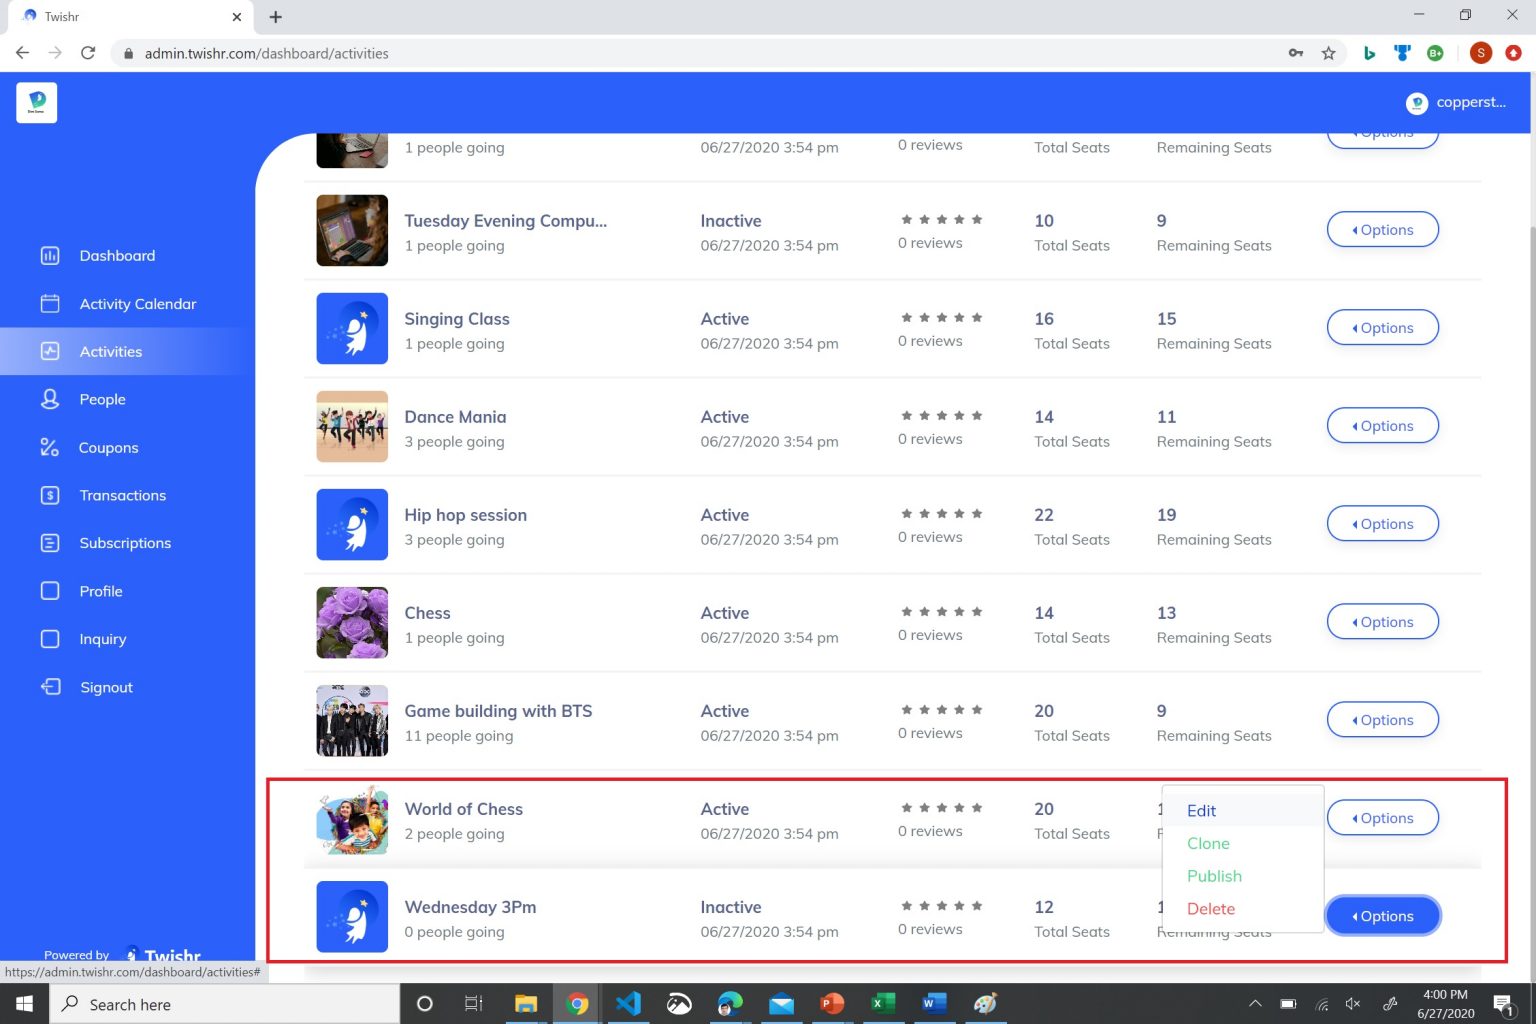
Click on Options to open up a menu of options. Click on Edit to be taken to Editing the Activity
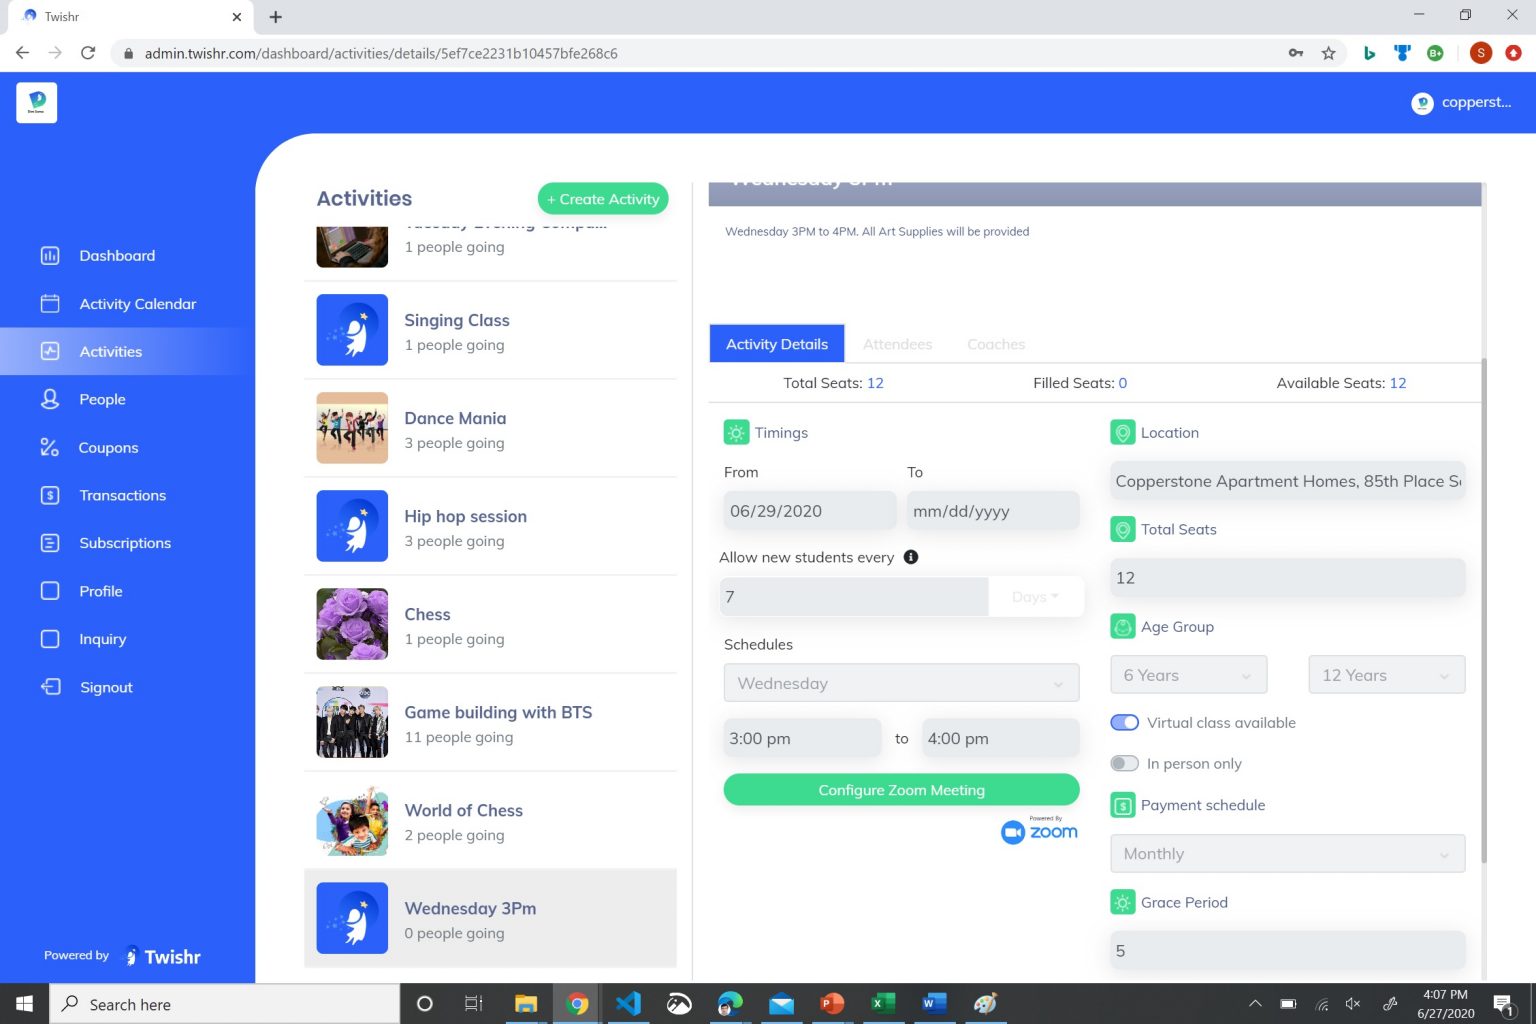
When you click on Configure Zoom Meeting for the first time, you will be taken to the Zoom sign in page.
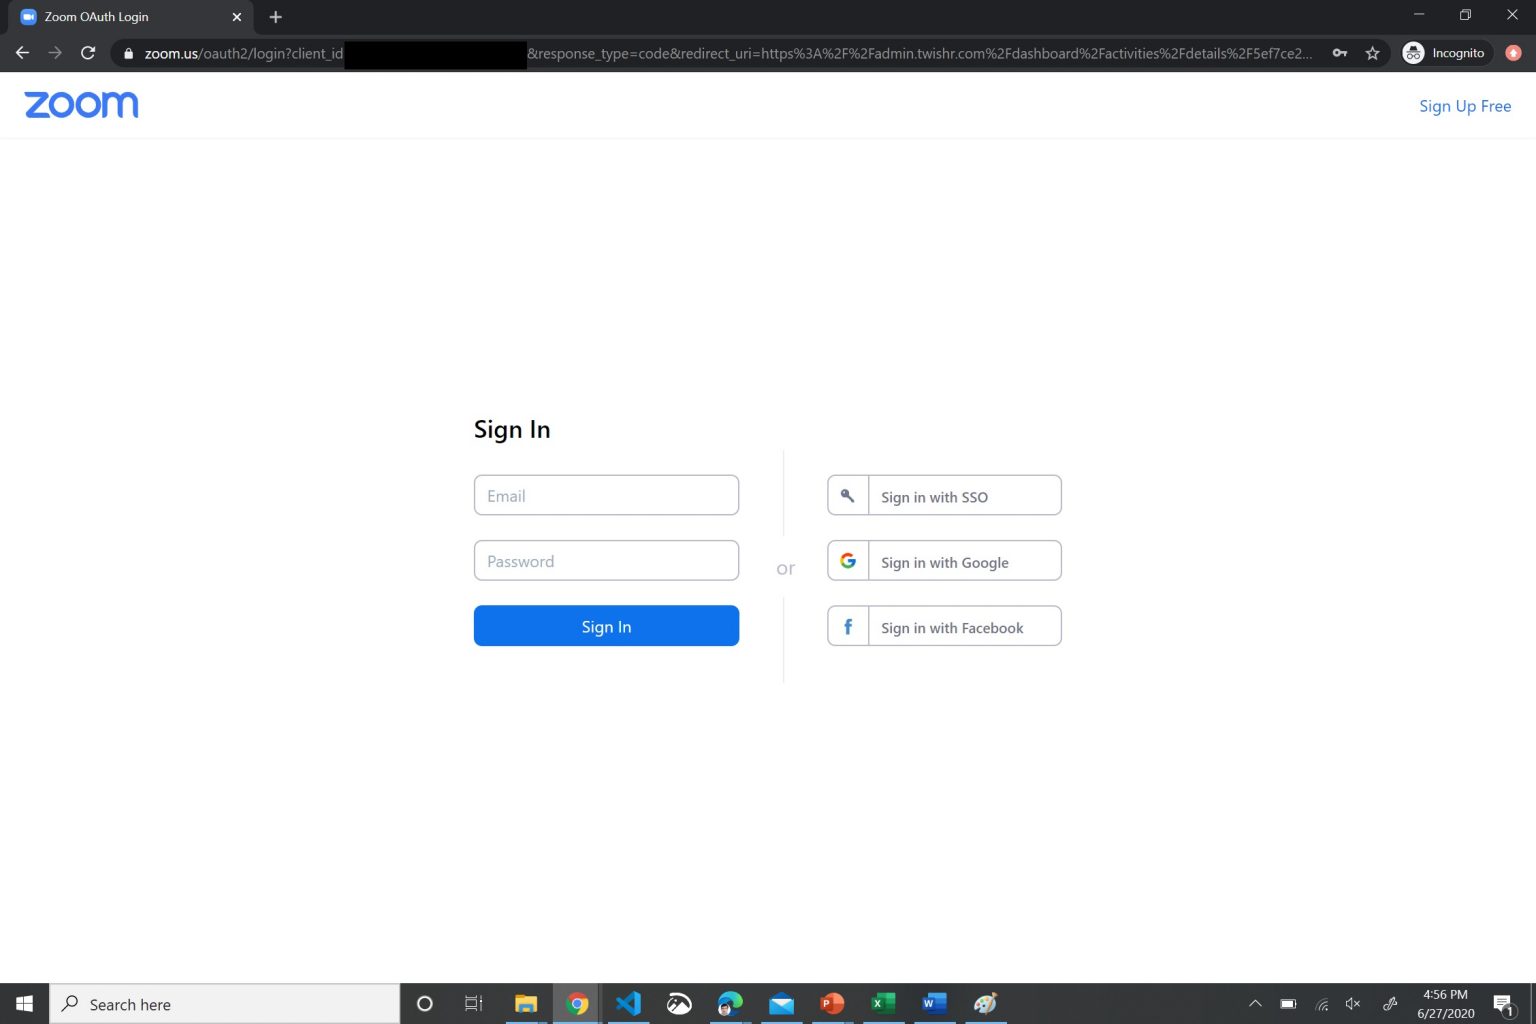
Enter your Zoom Credentials where you will be asked to Authorize Twishr with Zoom
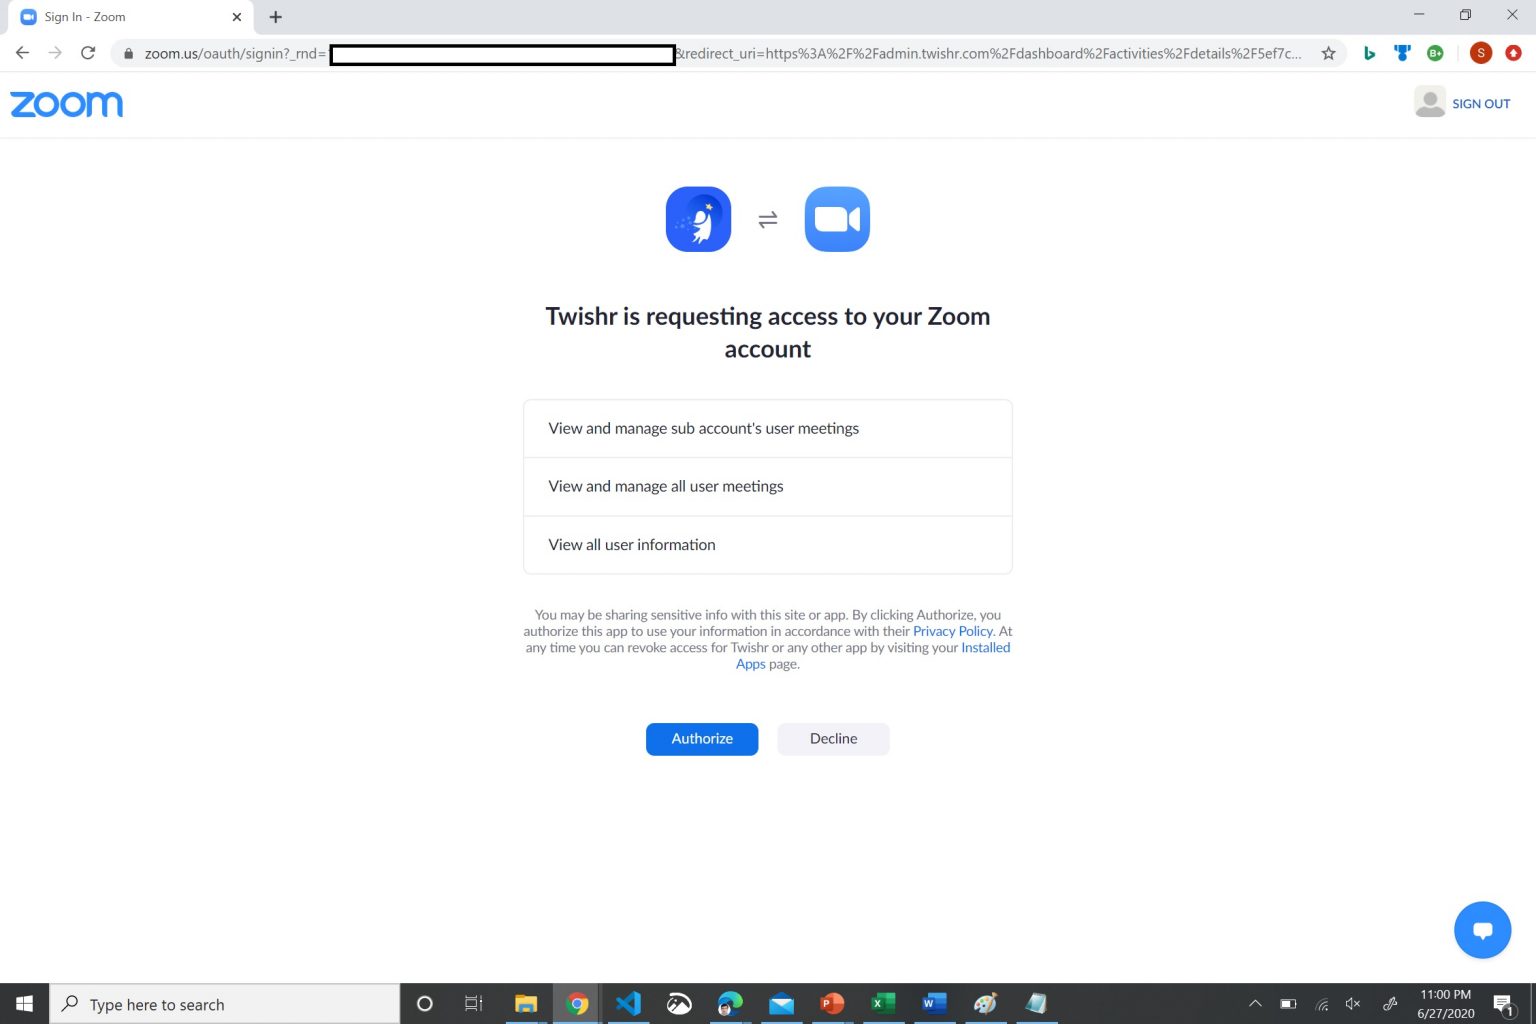
If you have a Zoom subscription with multiple users, you will get to choose the user that you want to configure with. If you have more than one Zoom classes running simultaneously, you will want to create multiple users. The selection of the time and days are saved into Zoom and are not related to the timing of your classes. When your classes are due you can click Start Zoom Meeting to start your meeting
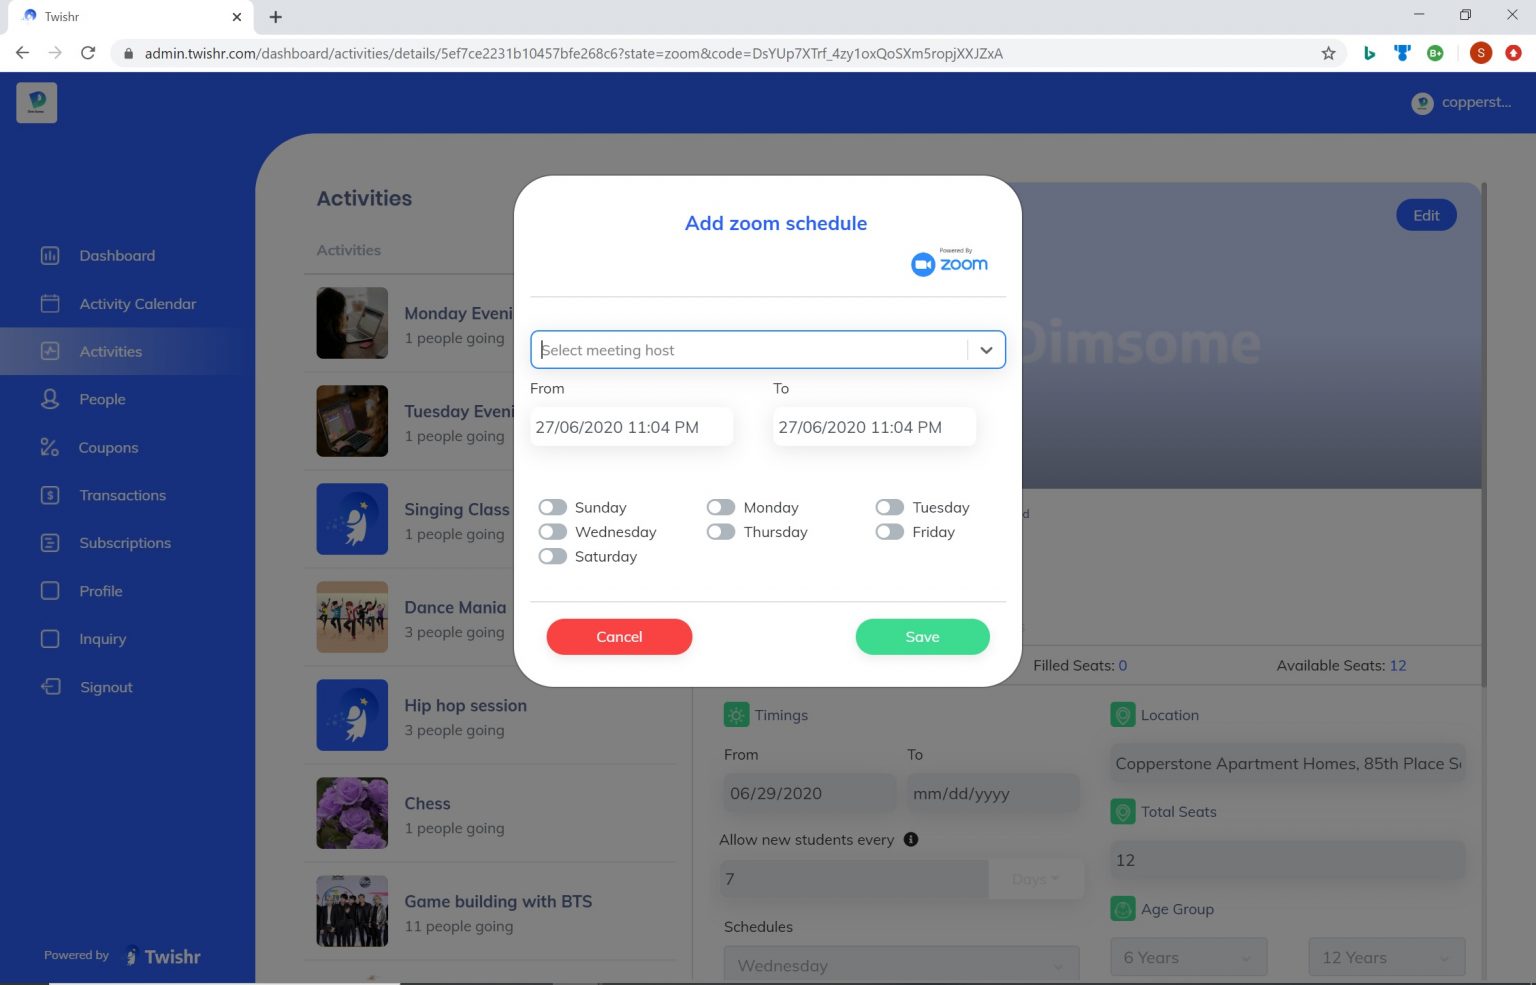
Once you click Save, Zoom generates a link for you. This same link will be available to the parents who are subscribed to your activity, without having to send another email.
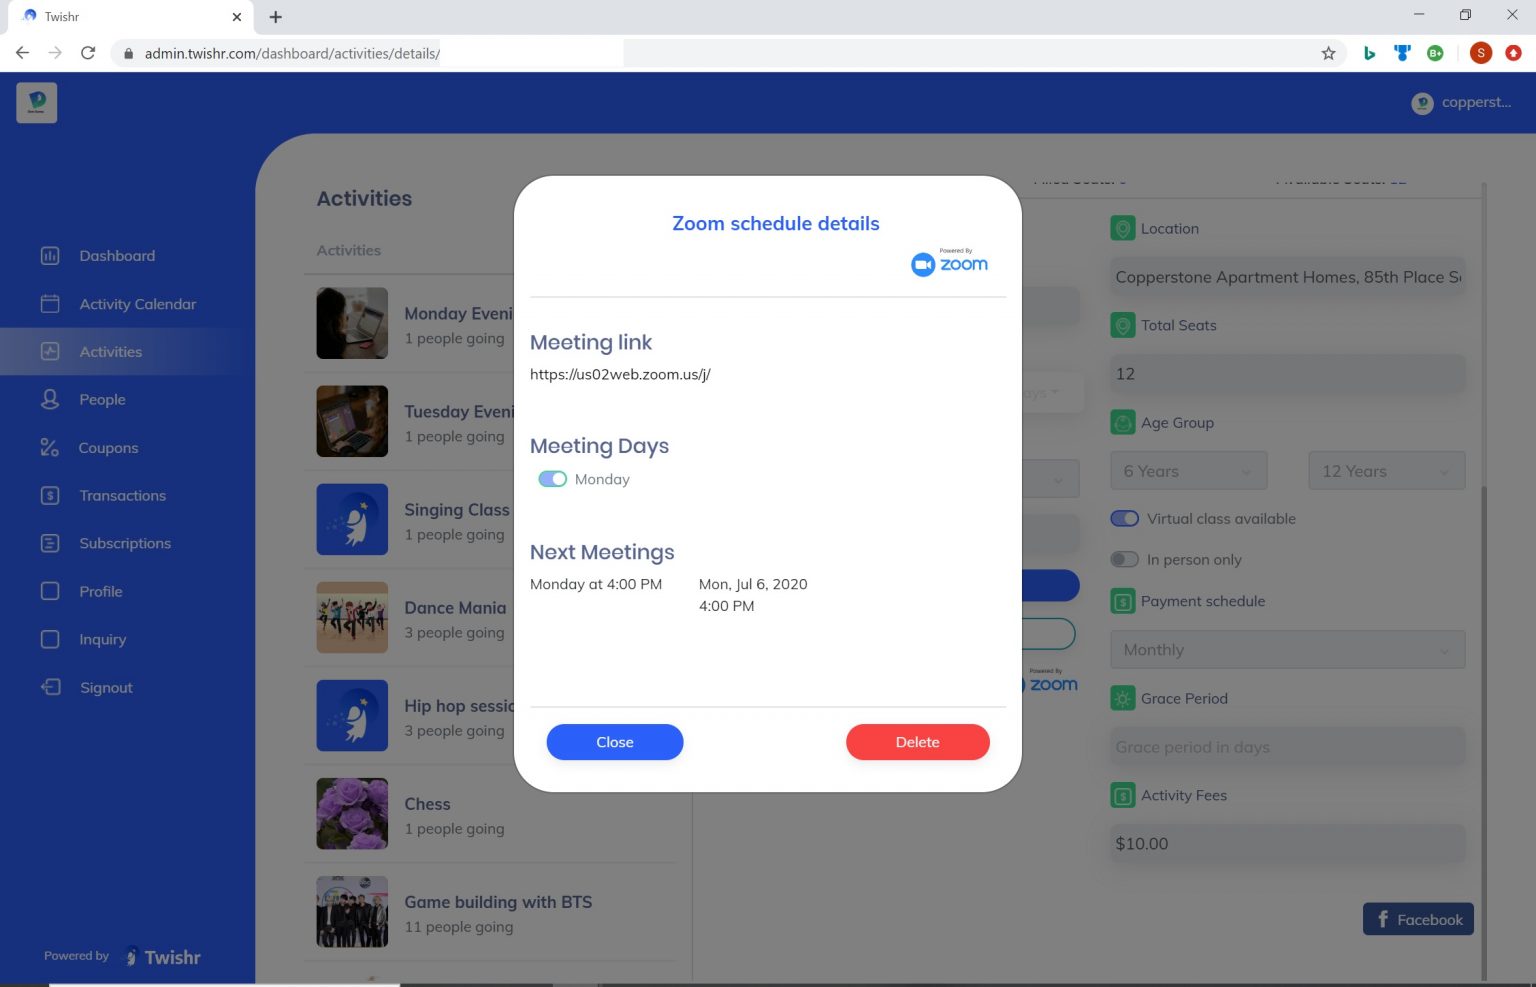
You can see the meeting details, in case you want to send it separately via chat or email, You can also choose to Delete the configuration, You can regenerate the Meeting Info by clicking on Configure Zoom Meeting again.
Please note, Twishr does not have any visibility into your Zoom account, nor does it bill you for your Zoom license. You are responsible to manage your active license with Zoom. See more pricing plans from Zoom at https://zoom.us/pricing
Uninstalling Zoom
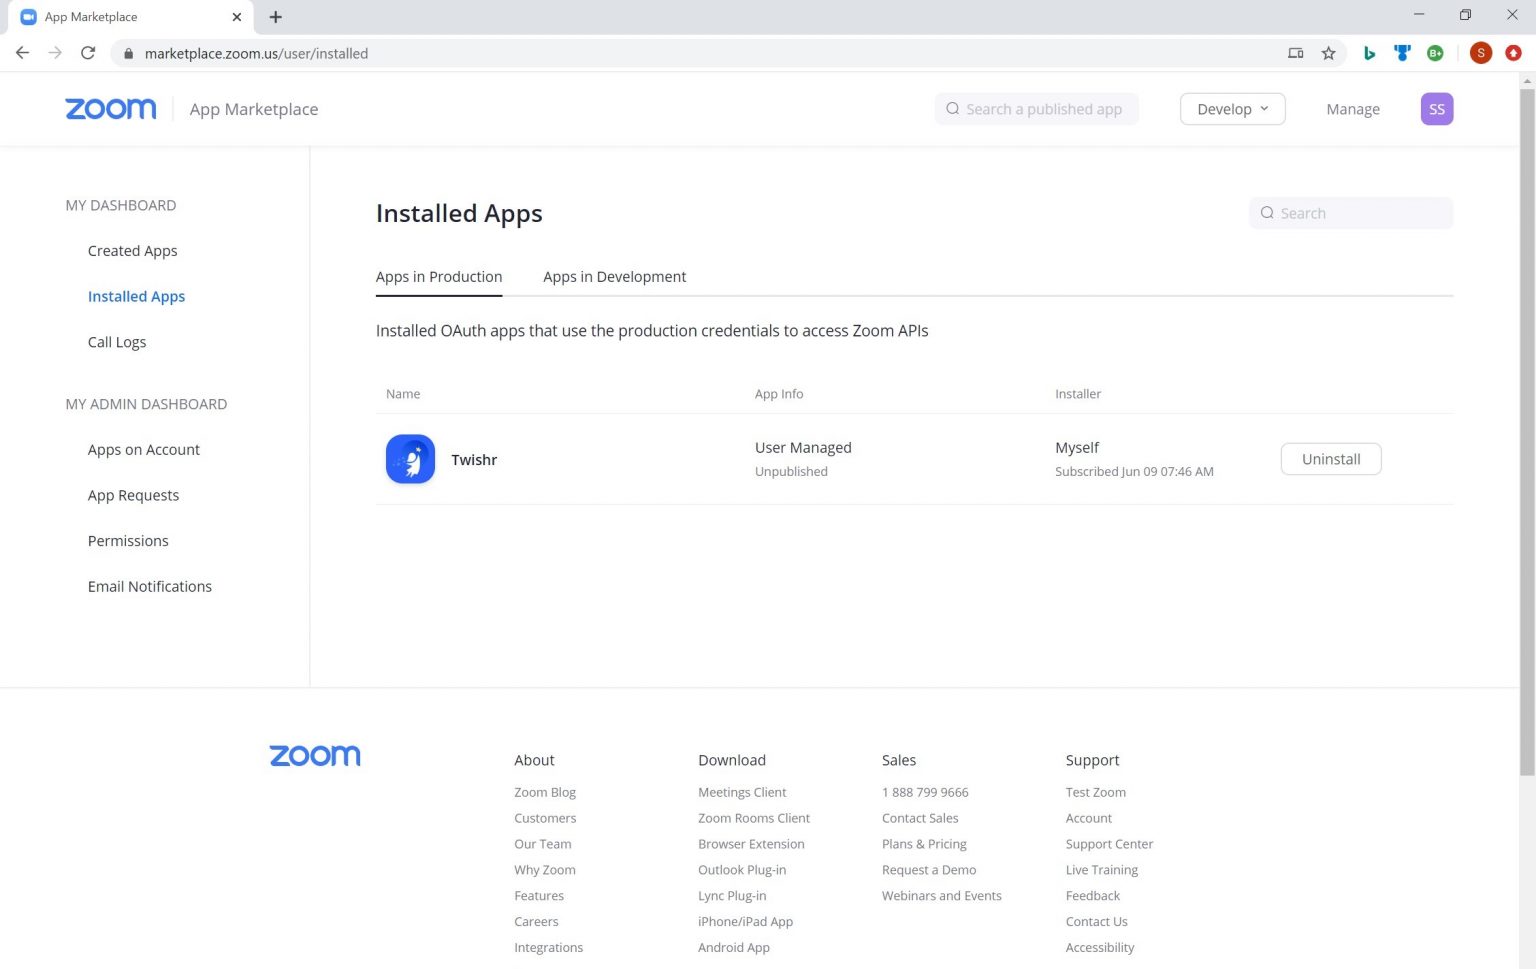
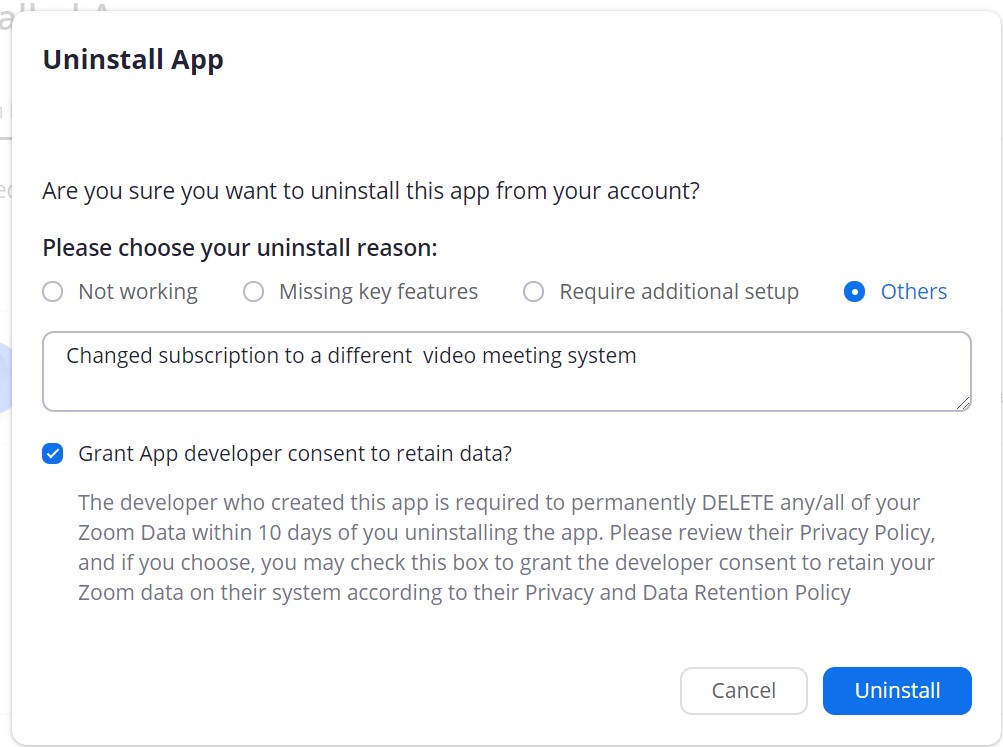
If you wish to not use Zoom, you may choose to remove the installation of Zoom through your Zoom Account. Login to your Zoom Account and navigate to Zoom App Marketplace. Alternately you can also go to your installed Apps via https://marketplace.zoom.us/user/installed Look for the Twishr App. Click Uninstall
When you uninstall, the popup will ask you the reason you are planning to uninstall, and the reason why you are planning to uninstall, and whether you want us to delete all your user data.
If you would like to install the Zoom app again, you would have to login with your credentials and give access to Twishr. See steps above under Configuring Zoom
If you have a large number of Activities to support, there is also an option to do it via an Excel. If you find Excel overwhelming at times (oh, don’t we all have a love-hate relationship with Excel), or you would rather us do it, let us know and we will get the activities onboarded. Drop us an email at here.
Activity Calendar
The Activity Calendar gives a one-page view of activities at your center.
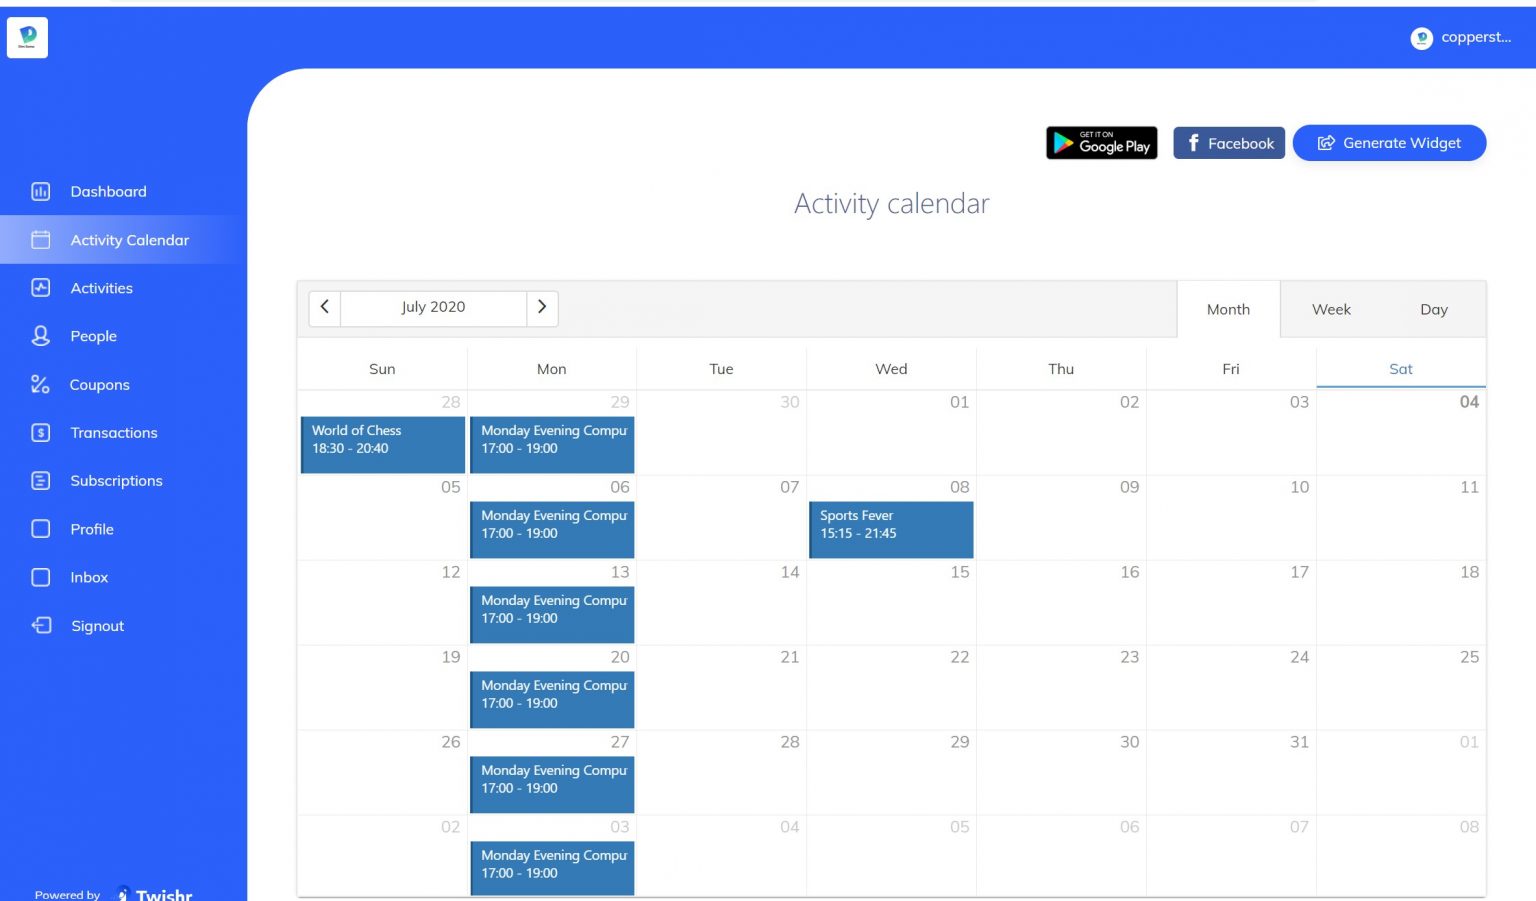
The Facebook button shares the calendar on your Facebook page
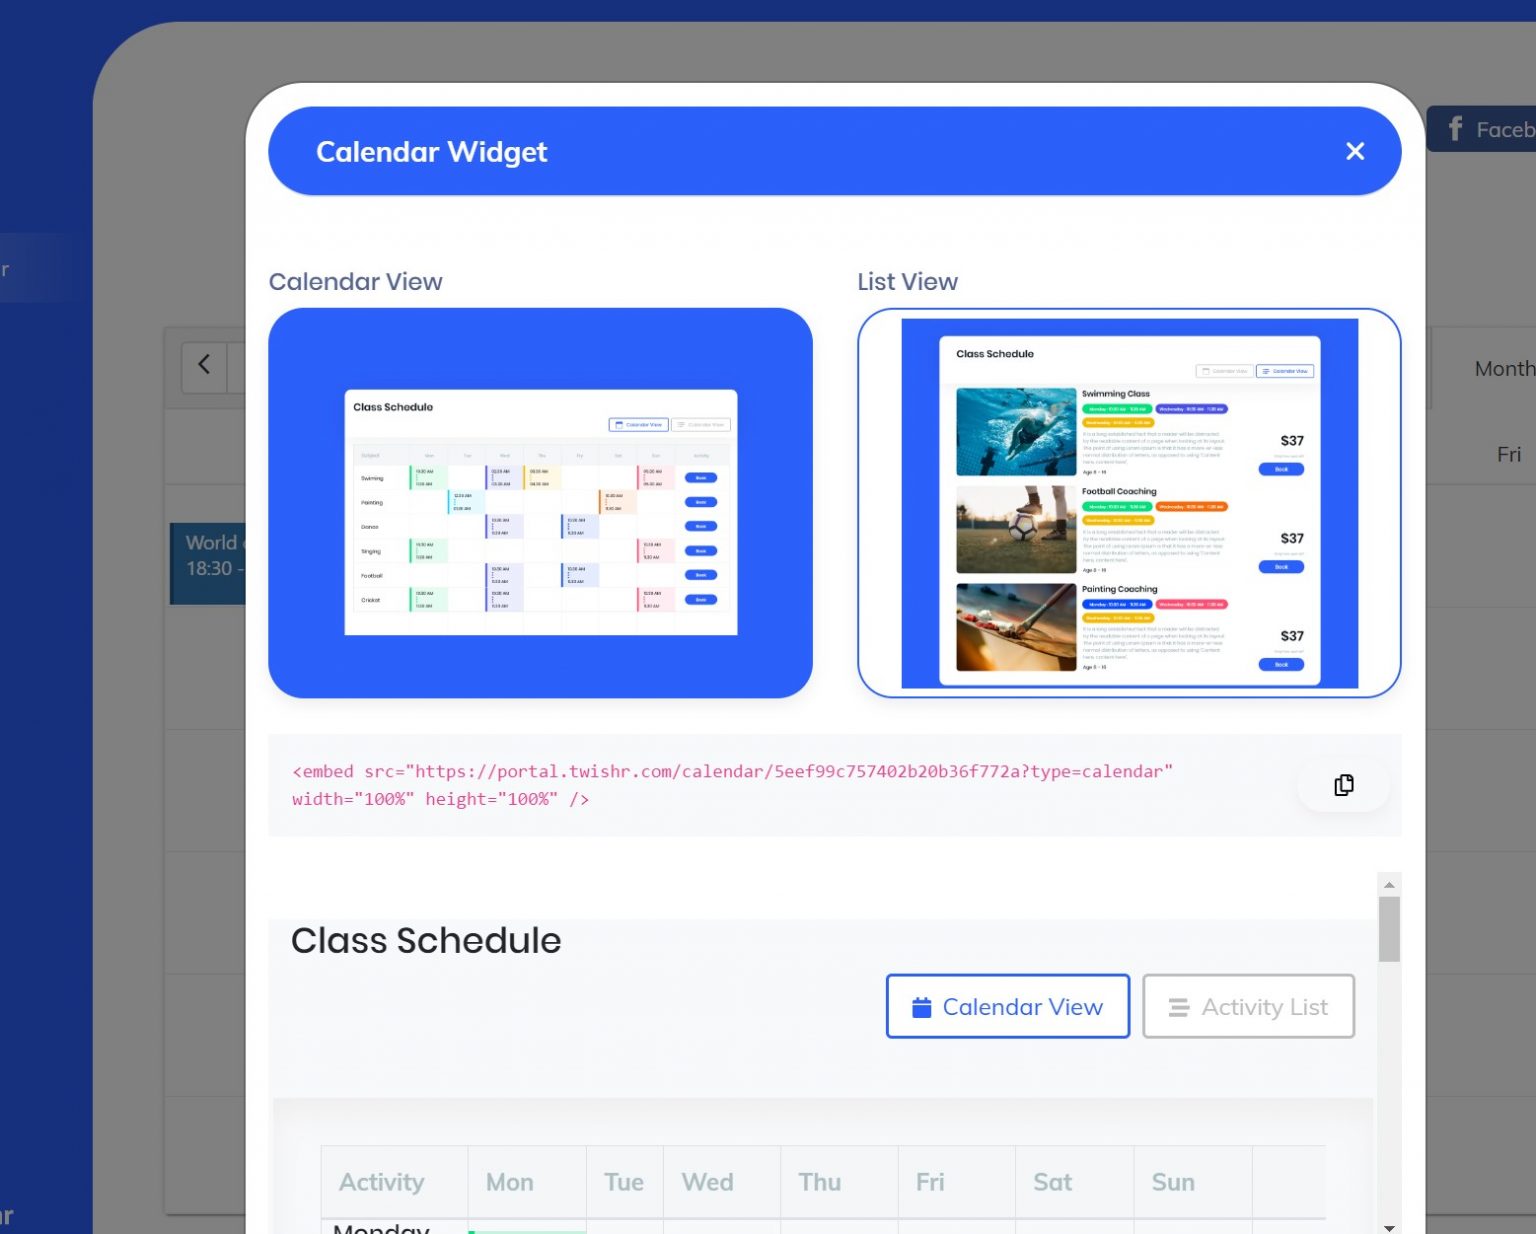
Generate Widget
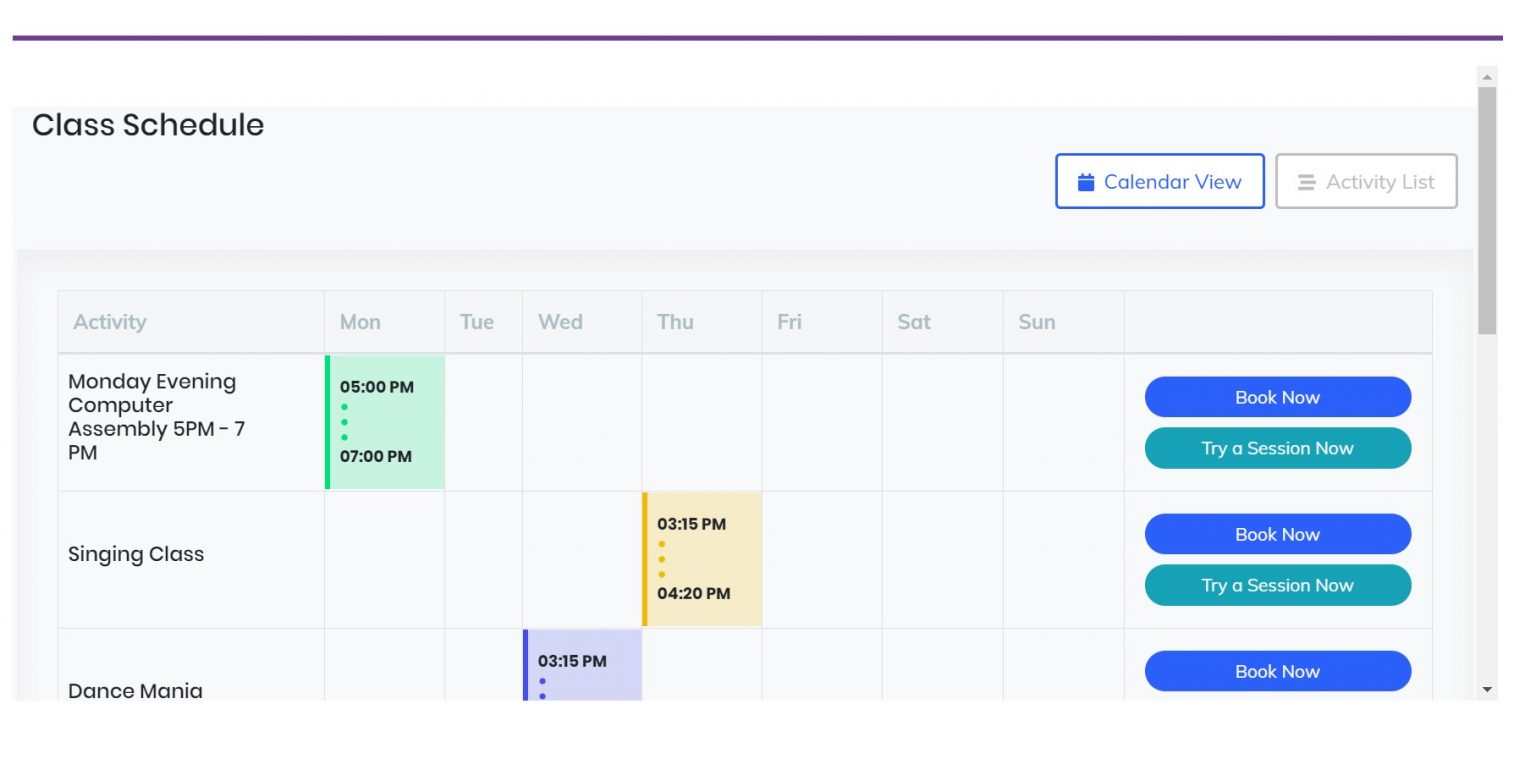
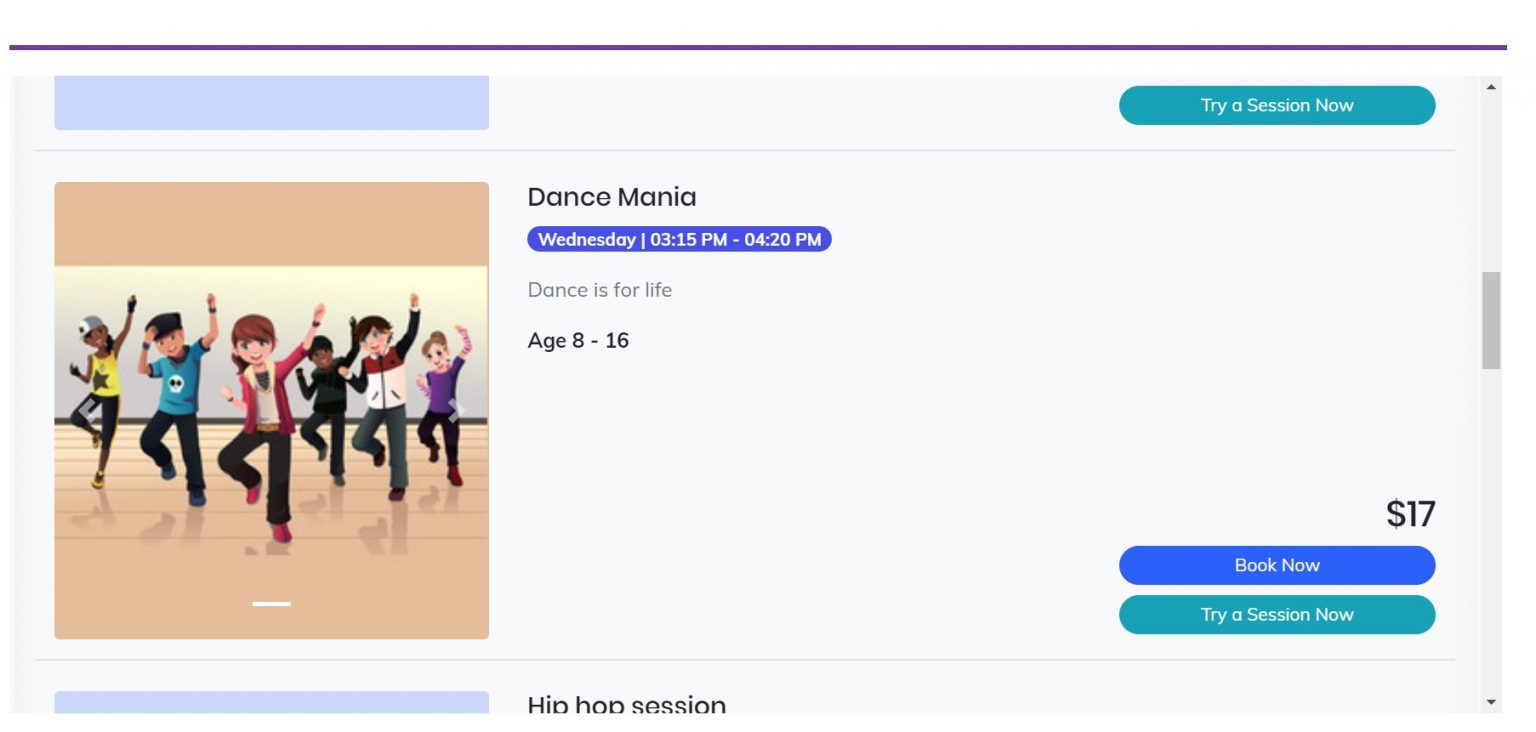
The Generate Widget button creates a Javascript embed code that you can add to your page. When you do that, it shows up a Calendar view or the Activity list view. People coming to your website, see this calendar and select the spots that are available. They book the slot as per their convenience and make the payment through the Twishr portal. Twishr charges 1% as processing fees, on top of Stripe charges that are 2.9% + 30 cents for every successful transaction.
When you use the embedded code on your web page, people get to see the activities like this
People
This is the tab where you will be able to add Parents, Students and Coaches.
Creating Students and Parents
In order to manage the Student and Parent records, you will need to first purchase a Subscription for Twishr, Please see Billing section below.
Connecting to Stripe
In order to proceed, you will need to connect to your Stripe account. Stripe is one of the most widely used payment gateways and is very versatile. When you enter your parent or student, you will be asked to set up a Stripe account if you have not done so before. The form needs details about your
Checking Account where you will receive payments from your students,
Credit Card where we will bill you for the Twishr Management Software
Employer Identification Number (EIN)
A photo ID
Once you have set up your Stripe account, you will need to verify your Stripe account by uploading one photo identify. If you have not verified your Stripe account, you may not be able to receive payments from your customers. For more information about the Stripe verification process, see https://support.stripe.com/topics/verification
If you have to update your Checking Account of Credit Card details, you can do so directly through your Stripe account. It is strongly recommended to log into your Stripe account and monitor transactions from time to time.
Stripe charges 2.9% + $0.30 per transaction on debit and credit cards that will be deducted by Stripe before it enters your checking account. ACH charges are 0.5%. Twishr does not charge any transaction fees on top of Stripe. See more details on Stripe pricing at https://stripe.com/pricing
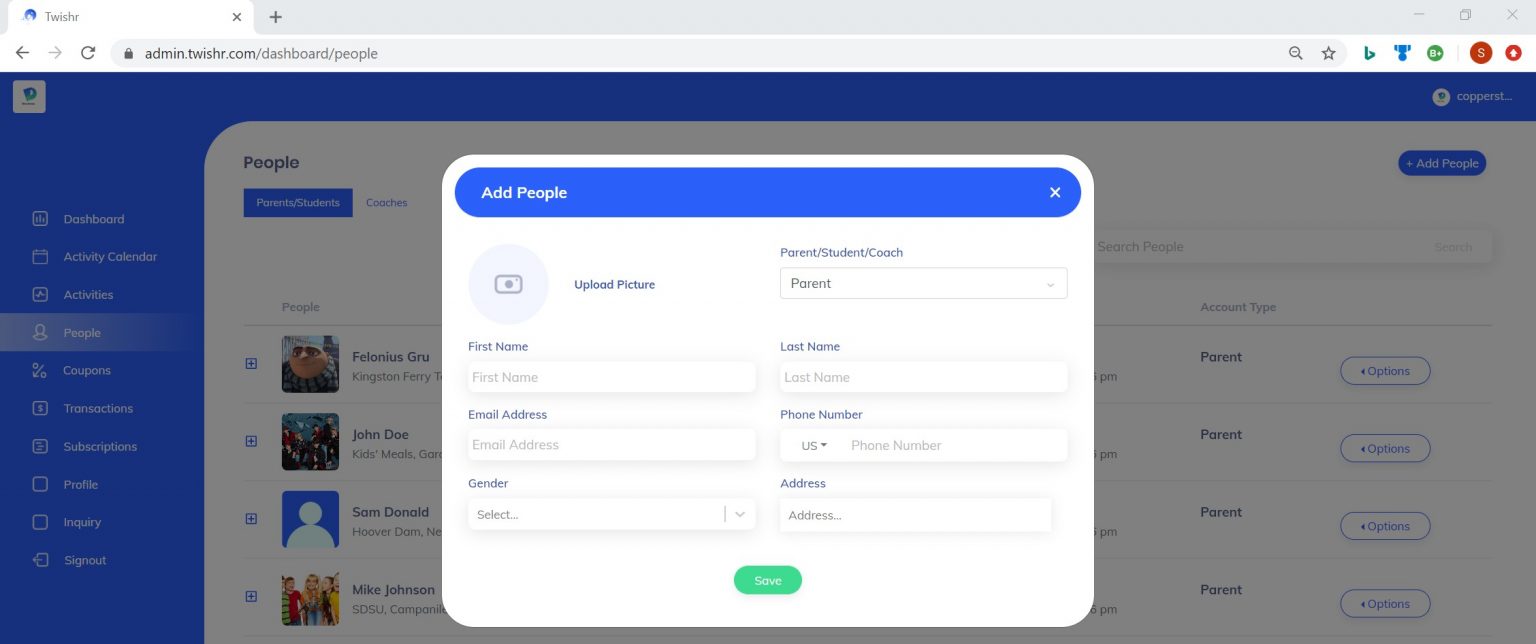
When you add a parent, a Referral Code is generated. The parent gets a SMS text with this referral code to use when he would sign up or download Twishr from the Play Store or App Store. This would uniquely identify that the parent has students subscribed to this Activity at your Activity Center
Once you have added a Parent, you can add students under them through the Options menu on the right.
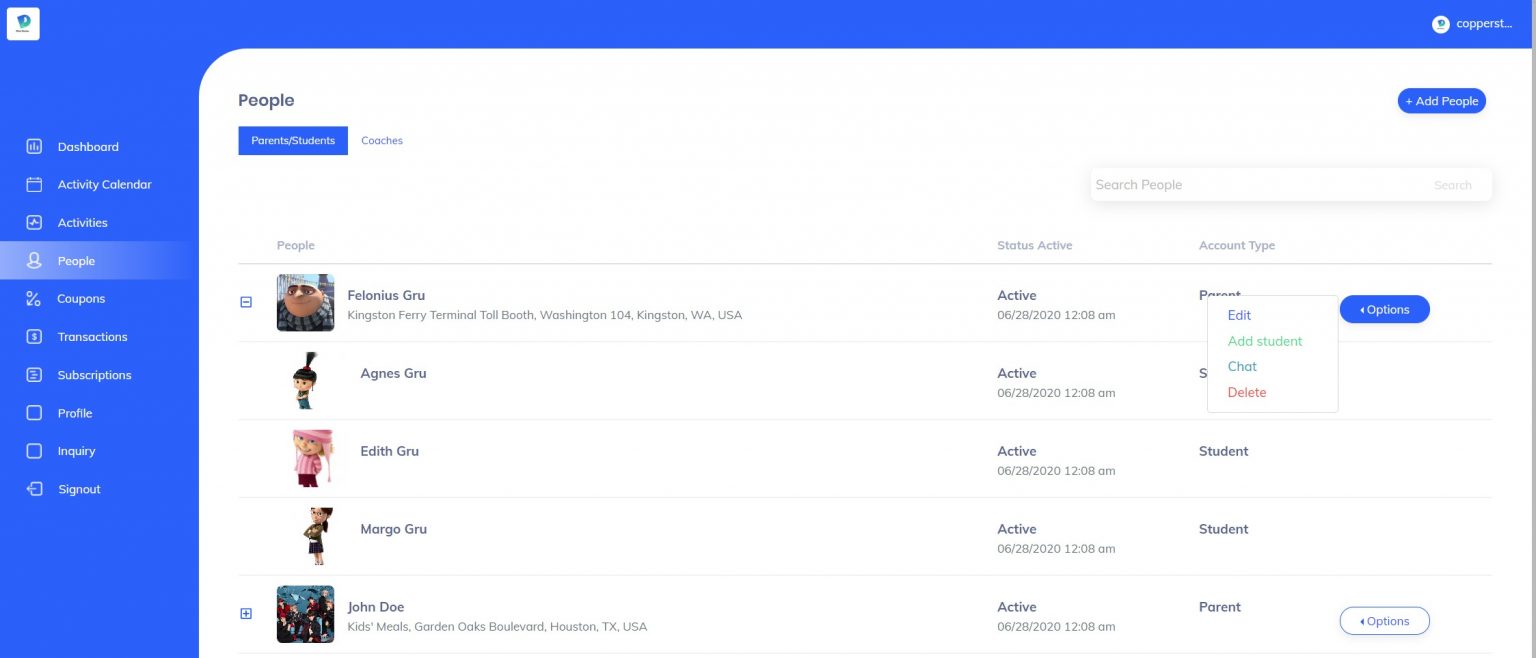
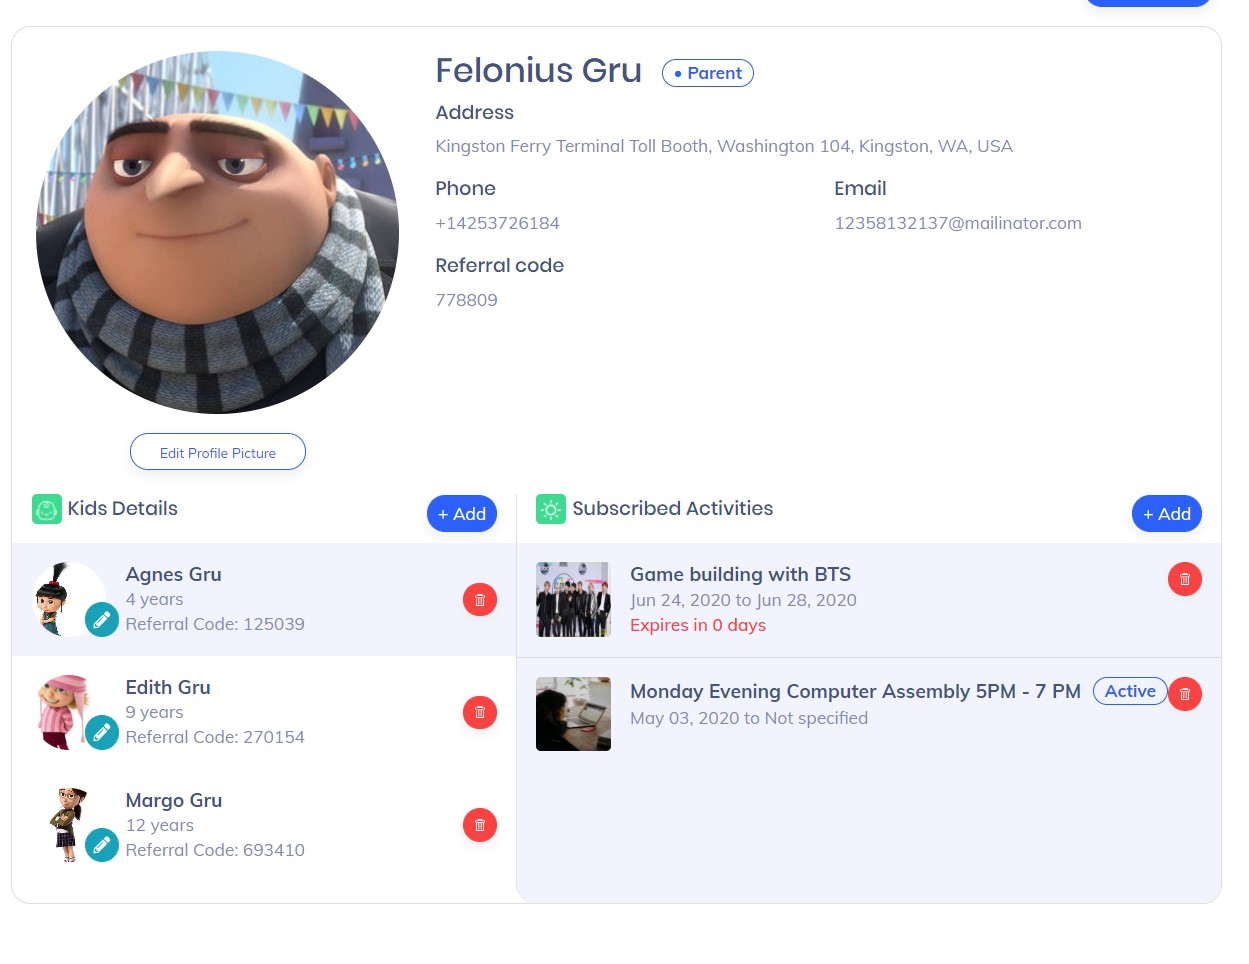
With the Edit menu on the Parent, you can update their profile, you can add more Students, or you can make one student subscribe to an Activity
Coupons
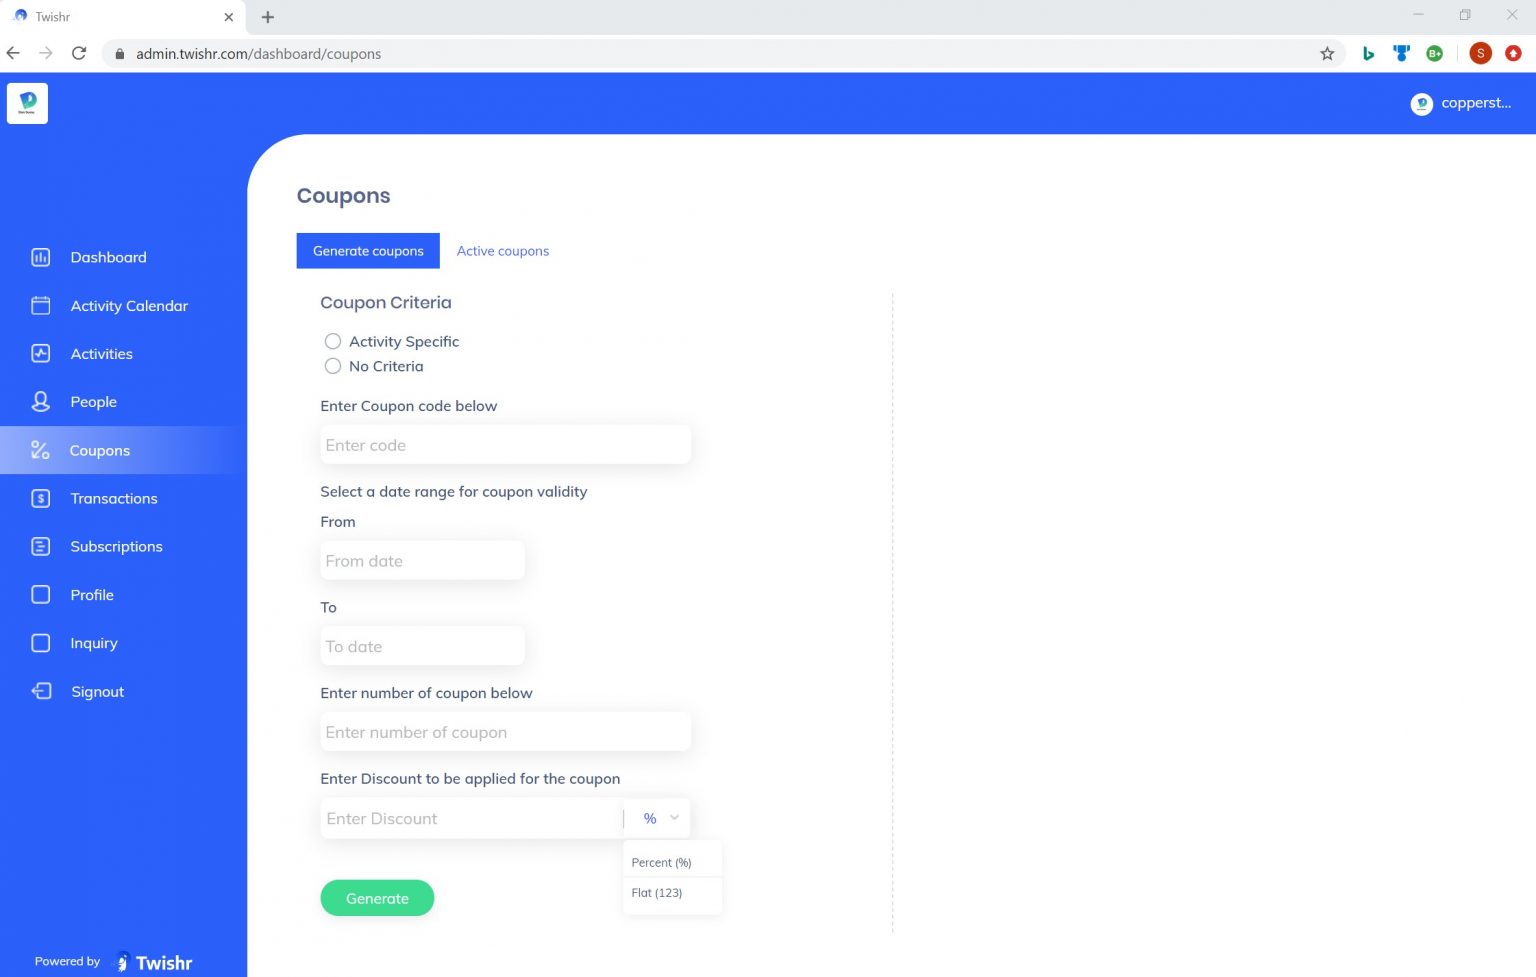
Coupons can be used to run limited time promotions, or can be used to allow make goods for your customers in exceptional circumstances.
Coupons can be created per Activity or with no criteria. A coupon can also be created with a date range and set number to prevent misuse of the coupon codes. You can also create coupons with a dollar amount or a percentage. Please note, when you generate coupons, it your responsibility to keep the coupon codes safe. Twishr will not be responsible for lost or leaked coupon codes.
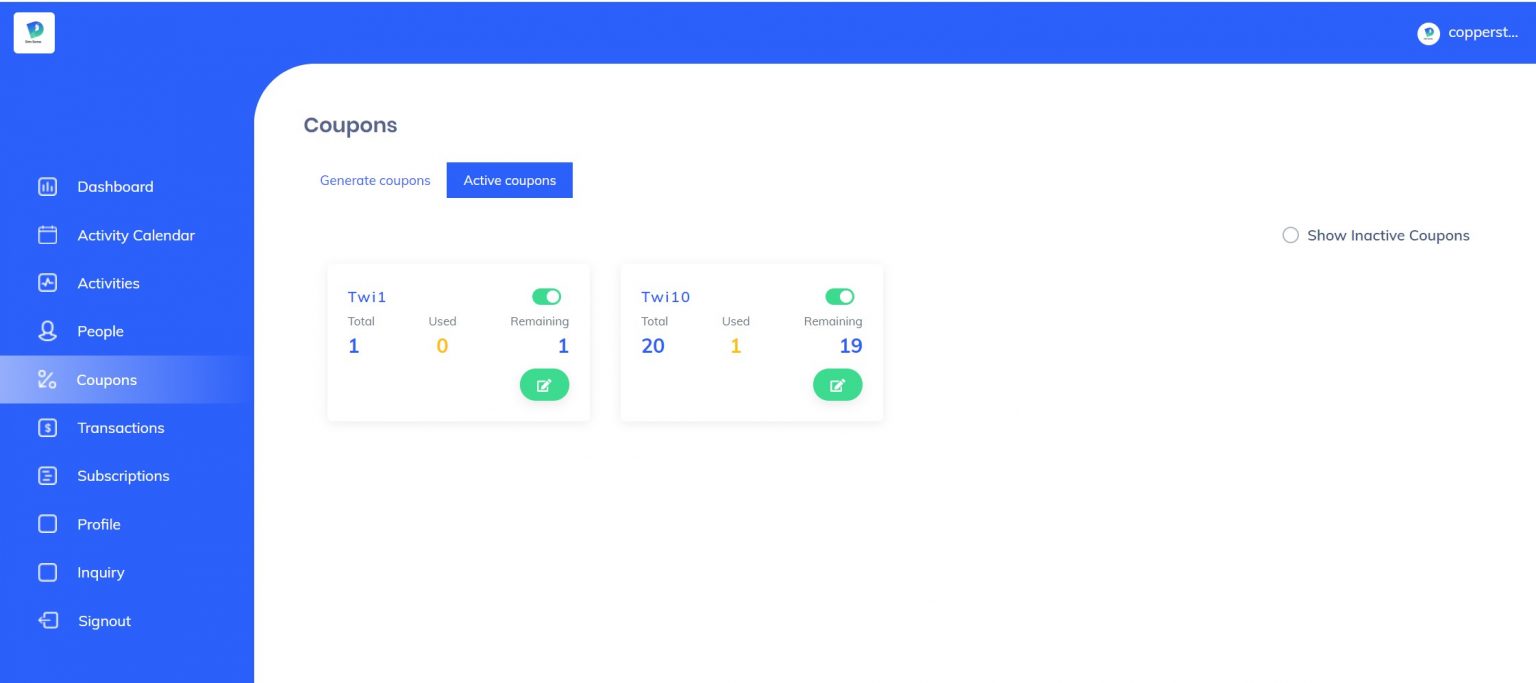
You can see your coupon usage through the Active Coupons tab
Subscriptions
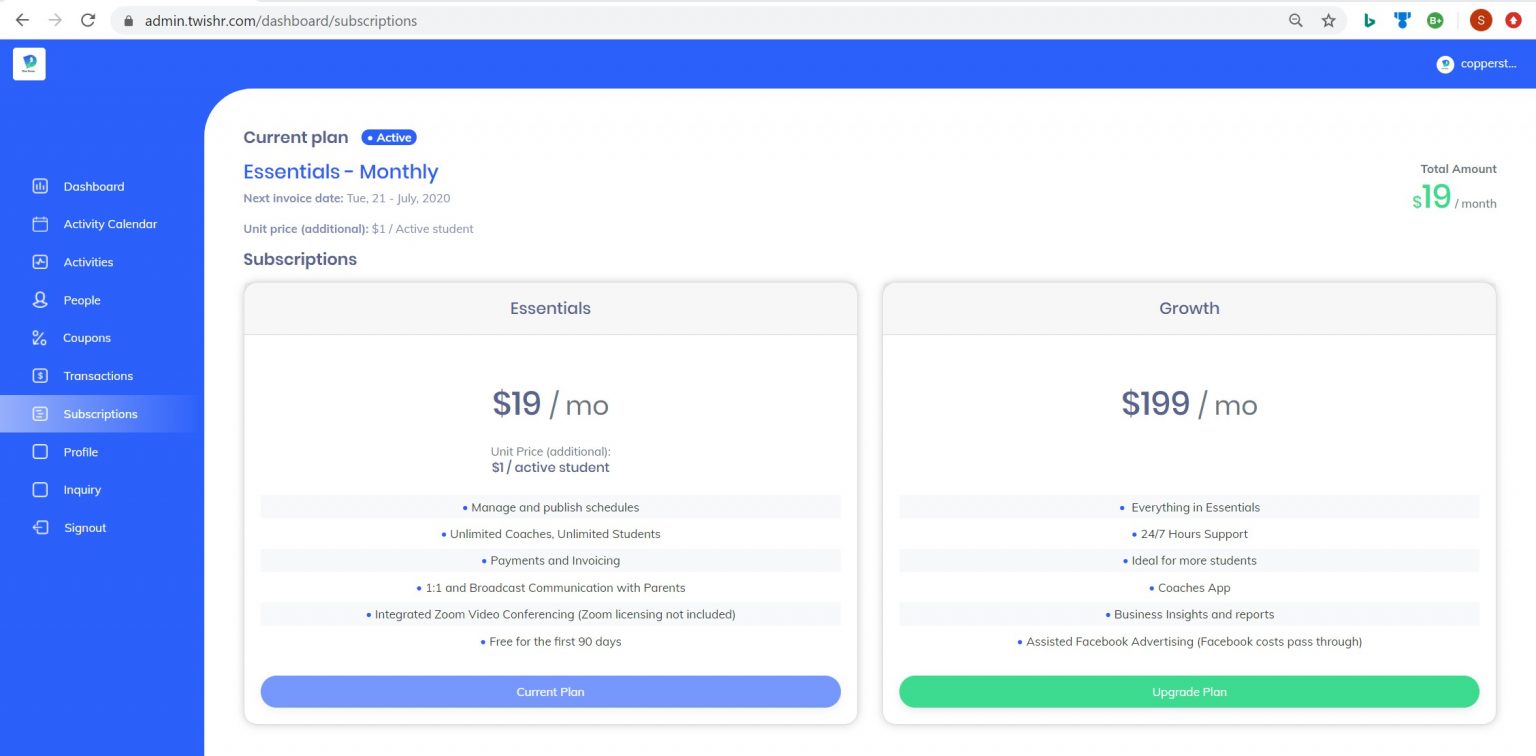
Twishr has two subscription plans. The Essentials is charged monthly at a rate of $19.00 + $1 per active student. Active Student is anyone who was invoiced in that calendar month.
The Growth plan is a subscription plan that is billed at a flat rate of $199.00 per month. This will be useful when you have more than 180 students.
Both plans come with all features. Twishr is a Software as a Service (SaaS) application, we will continue adding more features, and building more integrations in the future.
Video Tutorials
p>For more video tutorials, see the TwishrApp Video Channel on YoutubeContact Support
Should you have additional questions or need a human response, here are the best ways to get support. We typically respond within 1 hour during the hours 8AM – 7PM Pacific Time.
Email: here
Phone: +1 (425) 287 1612
Physical Mail:
2020 Maltby Rd,
Ste 7, PMB 211
Bothell WA 98021